
How to Prep Your Substrate
By on Apr 28th 2025
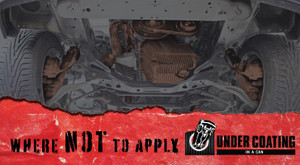
It’s extremely important to prep the undercarriage of your vehicle BEFORE applying any kind of undercoating. To achieve optimal adhesion, rust protection, and longevity of your undercoating, you’ll need to complete the following steps prior to applying it to the undercarriage of your vehicle.
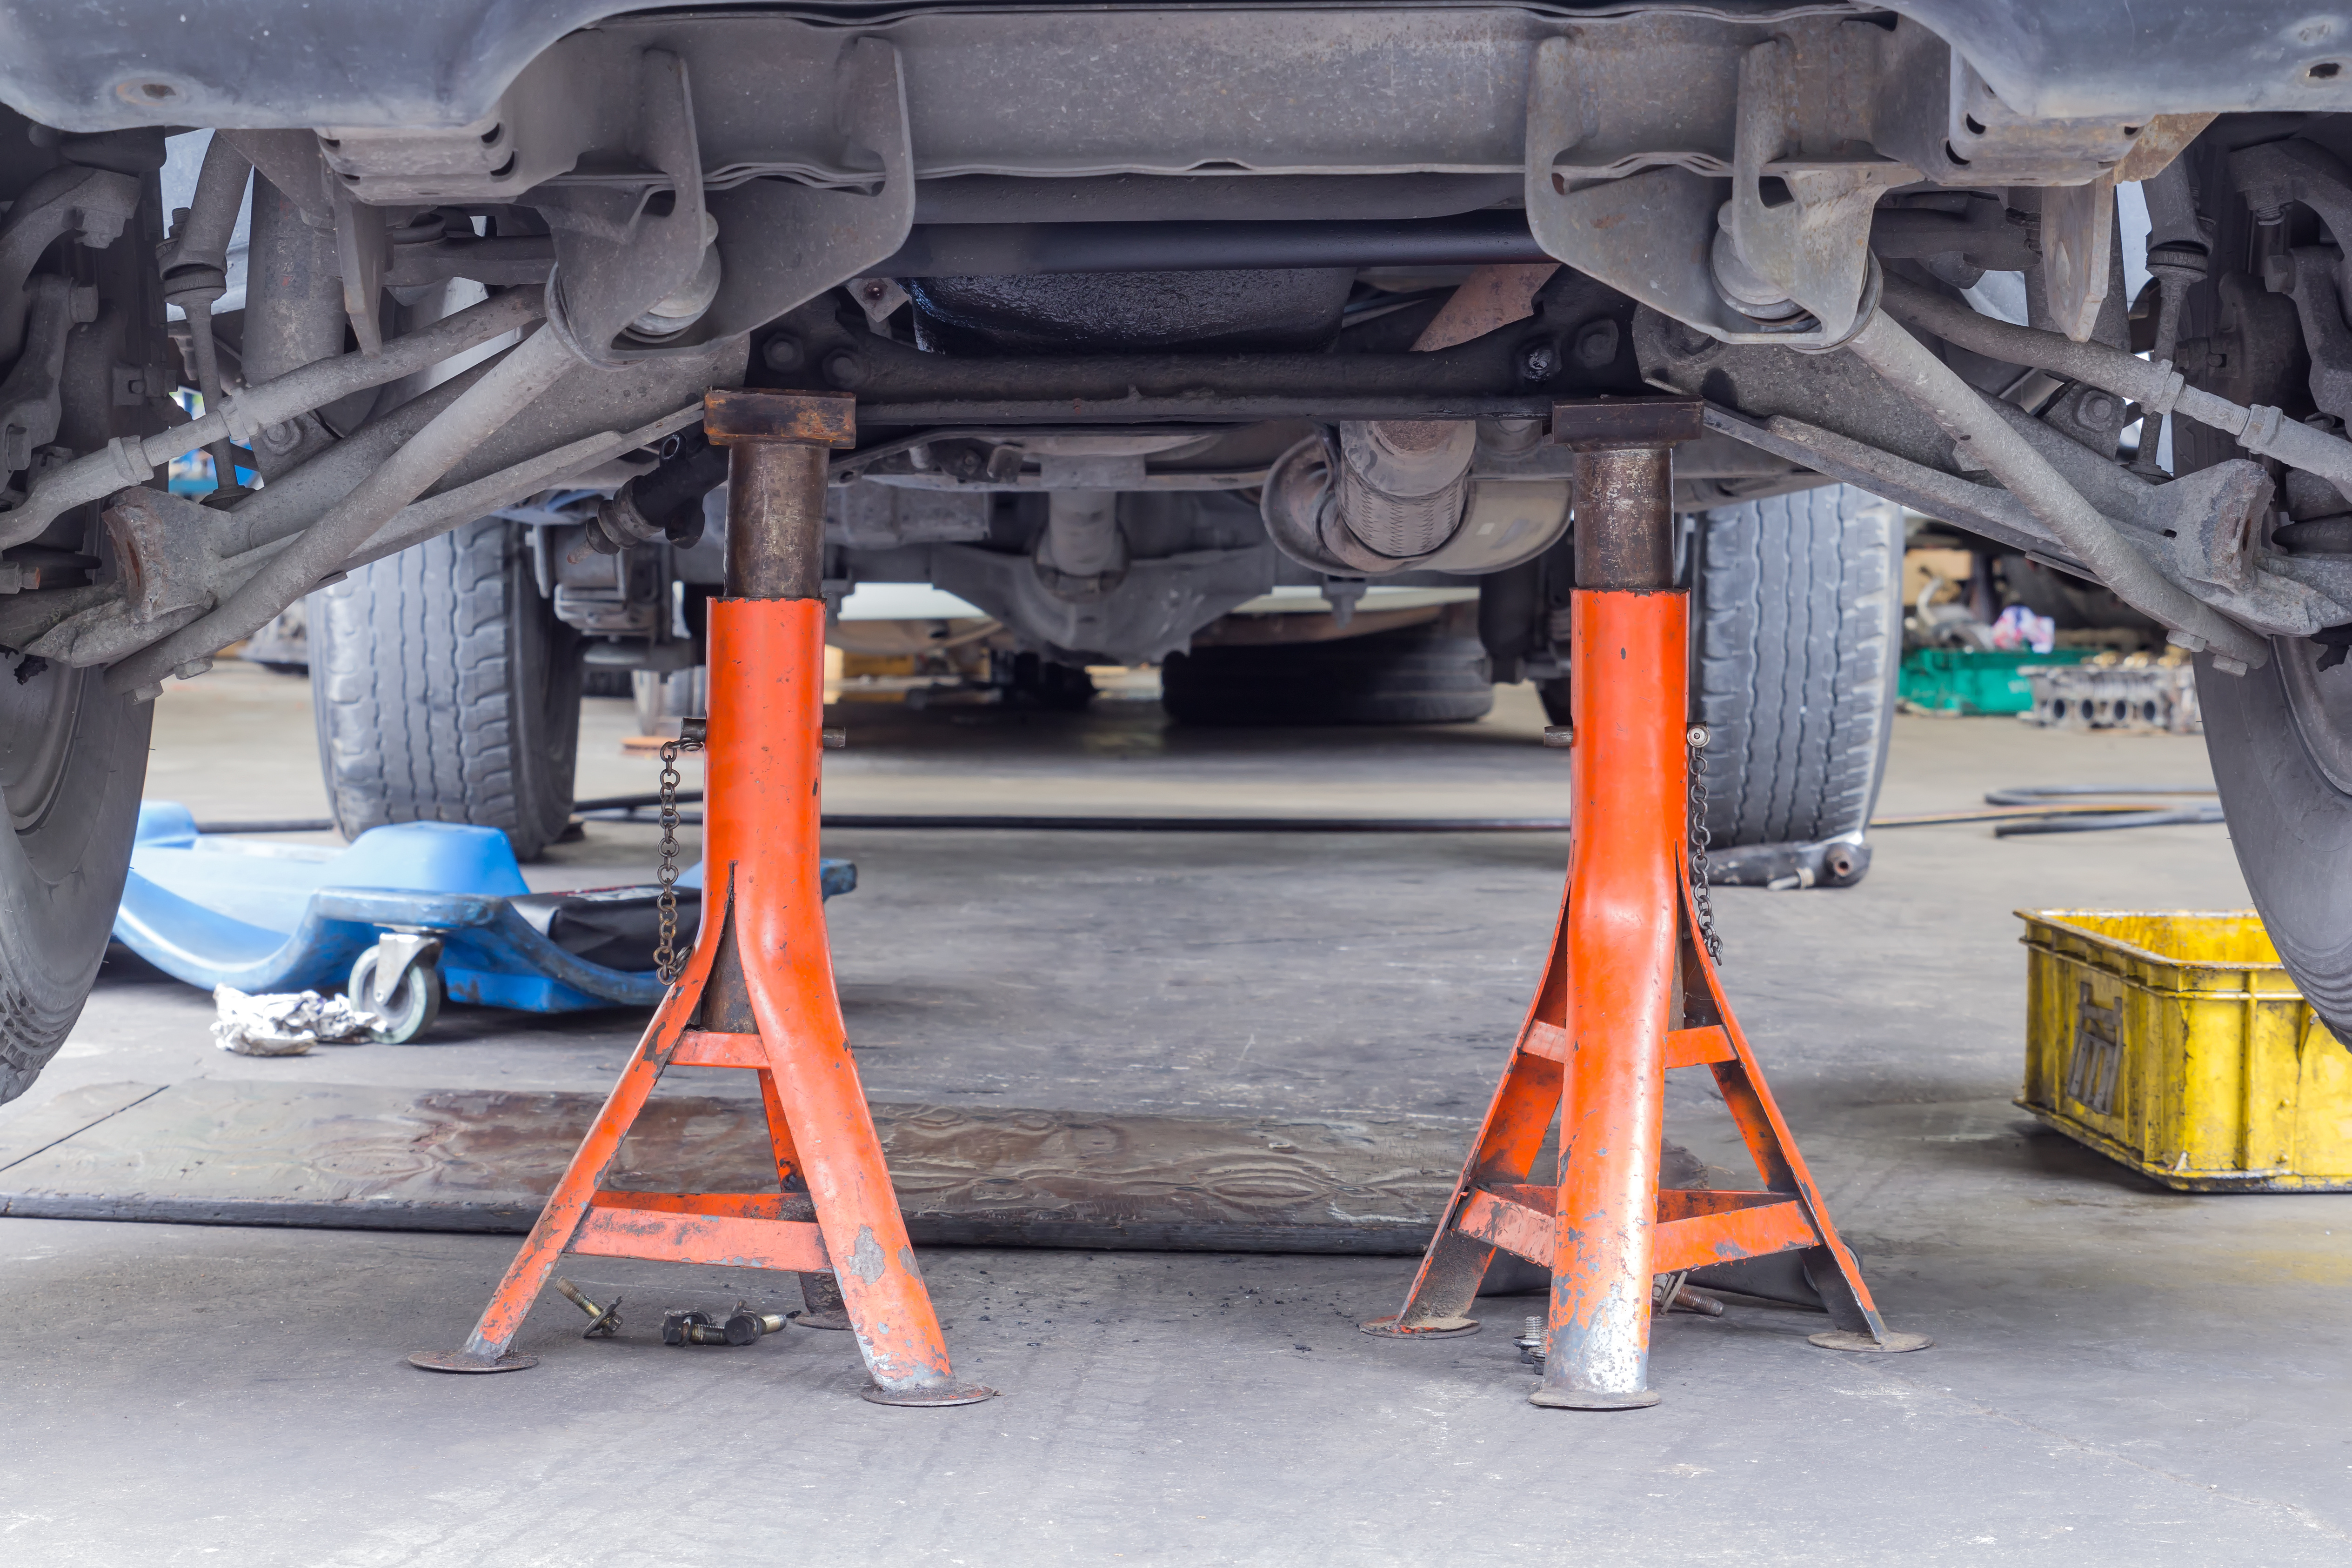
1. Set Up Your Vehicle for Success
Make sure the car/truck is positioned on a lift or parked on a flat, level surface. Always allow the bottom of the vehicle to cool down completely before you start to clean it—you’re always better off being safe than sorry.
2. Blast Away Dirt and Grime
Having a clean surface is crucial to ensure the best results from your undercoating application. Begin cleaning by using a pressure washer to target any dirt, salt, grease, or loose rust that may be located at the bottom of your vehicle; be sure to wash all the nooks and crannies, including the frame rails, inside wheel wells, and suspension components. Having an issue removing stubborn rust? Don’t fret! If you’re unable to pressure-wash that rust off, try using a wire brush to smooth it out.
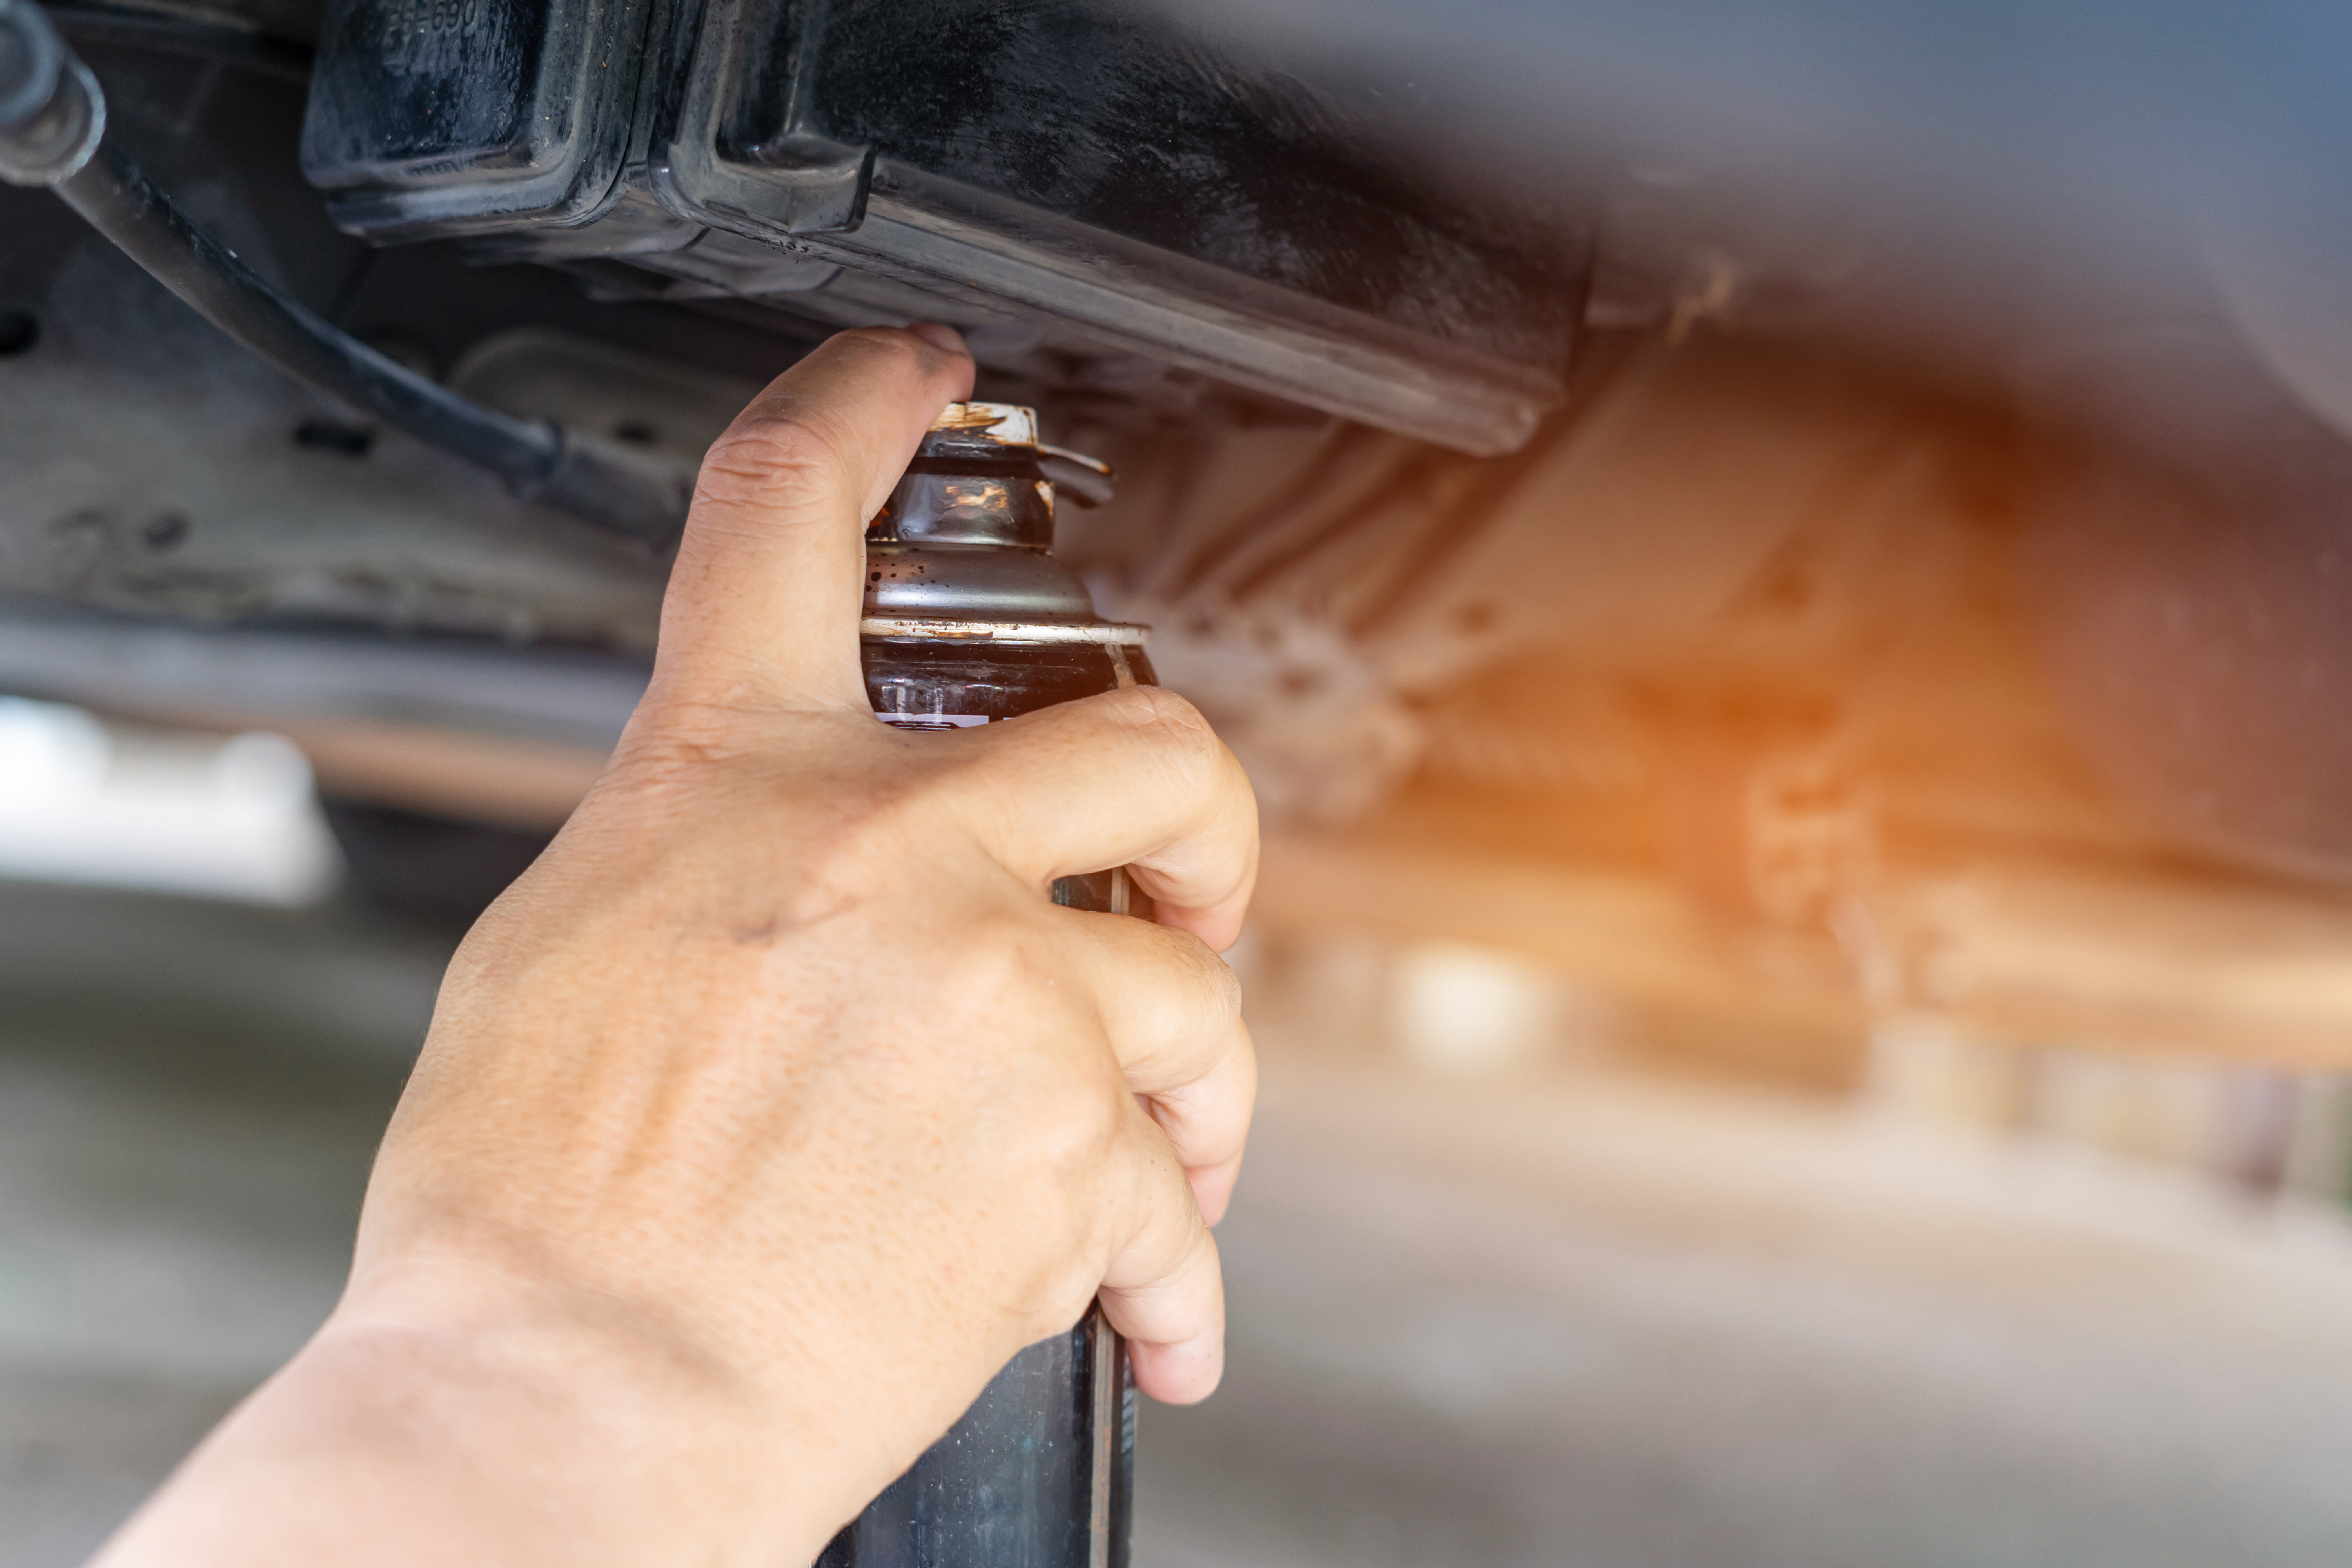
3. Wipe Out Grease and Oil
To clean those greasy/oily areas on your substrate, use a degreaser like Spray Nine or a heavy-duty cleaner like Purple Power Cleaner. These products will ensure that you won’t have to put in too much elbow grease to get the job done!
4. Rinse and Dry
Rinse off any remaining residue with water and allow the bottom of your vehicle to dry for at least 24 hours in a dry environment. A wet or damp surface will affect the adhesiveness of the undercoating.
5. Mask It to Protect It
Be careful not to spray any undercoating on any unwanted areas, because it can be an absolute pain to remove or unclog. To prevent this, mask your brake lines, exhaust, drivetrain, wiring harnesses, drainage holes, and sensors with foil, plastic, or painter’s tape.
6. Make it Happen
Now that you’ve properly prepped your substrate, it’s time to apply Undercoating In A Can to your vehicle. For additional information about the types of undercoating and application techniques, check out the Ultimate Guide to Undercoating!